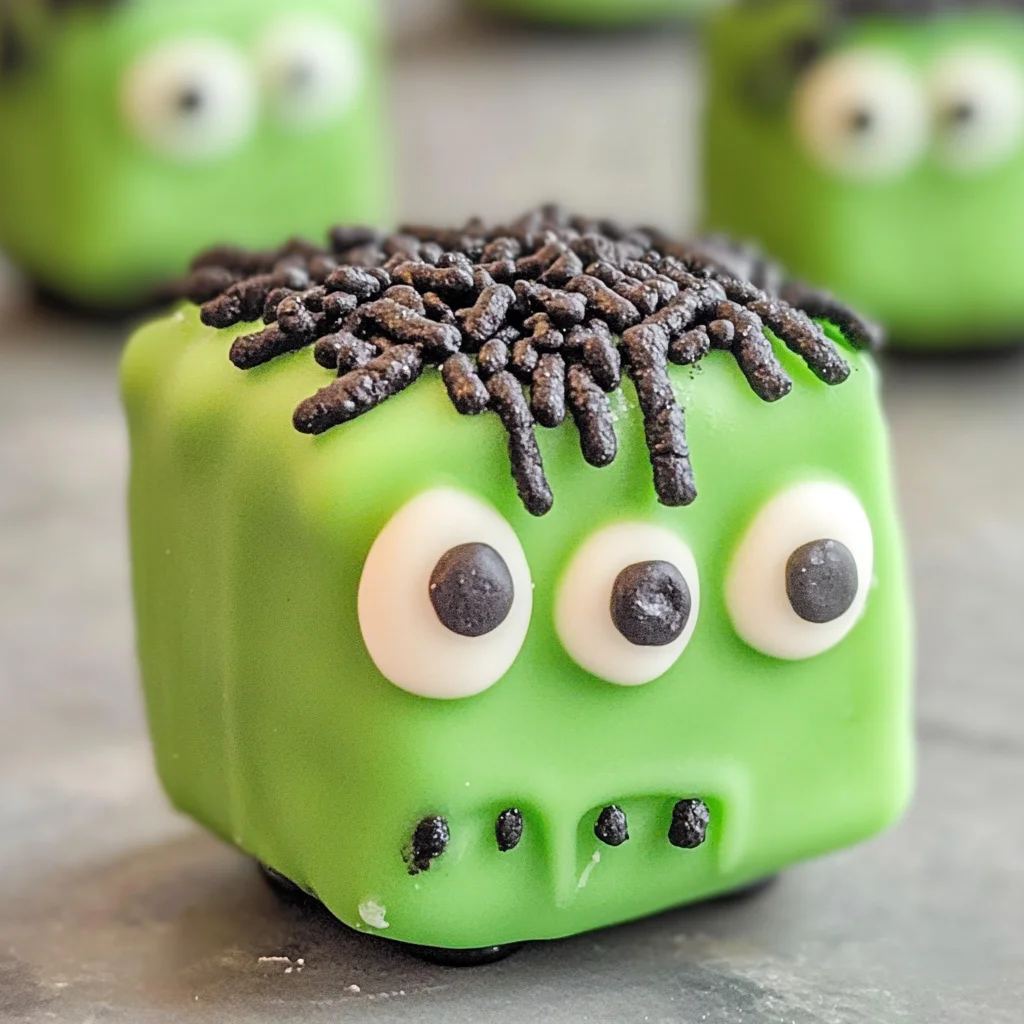
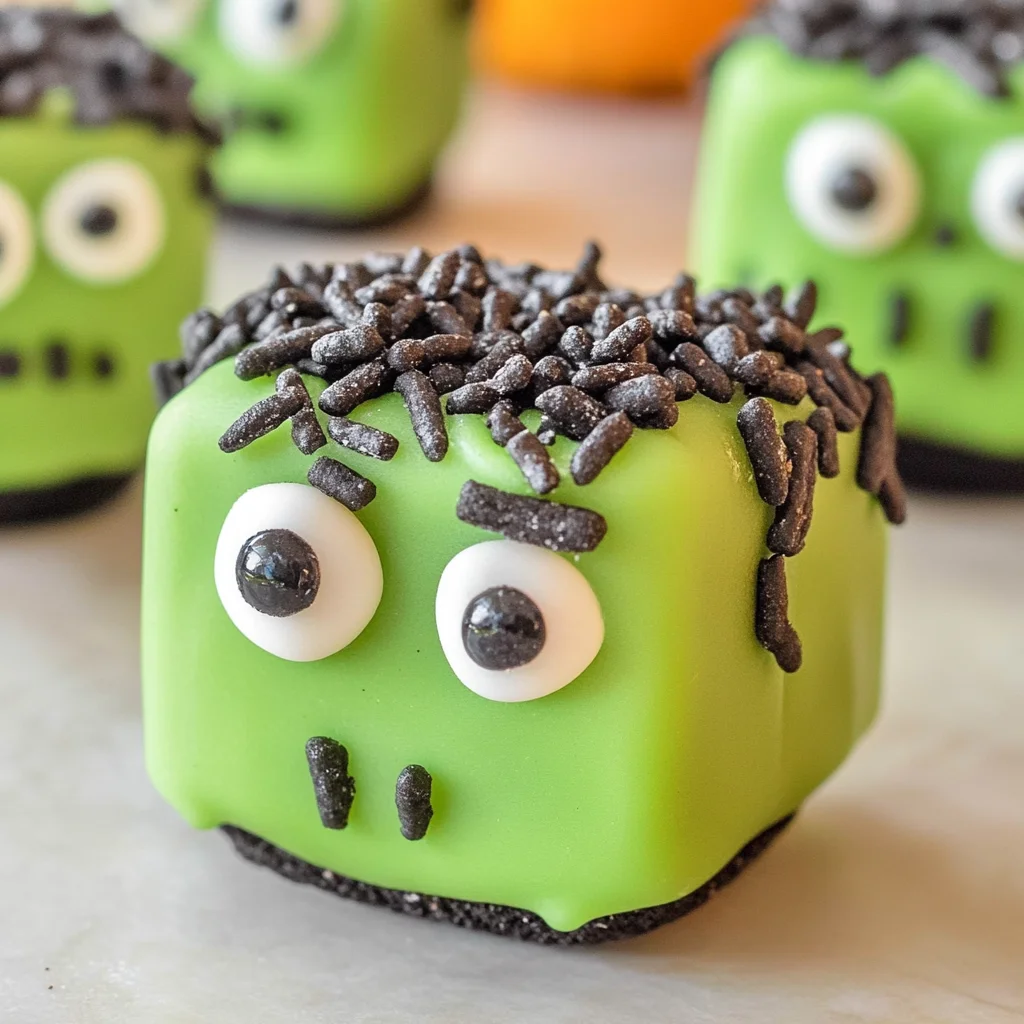
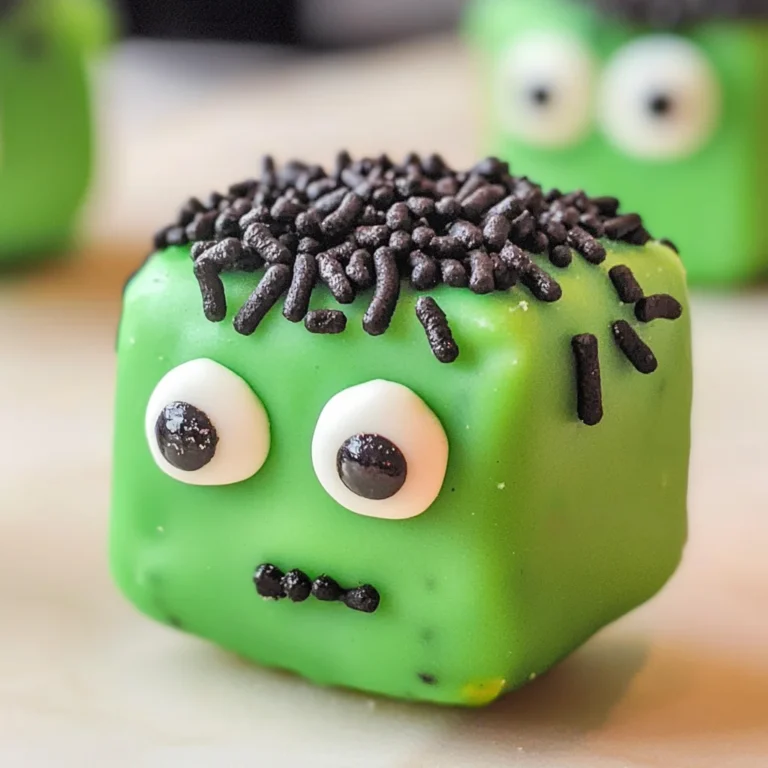
Frankenstein Oreo Balls are a fun and tasty treat perfect for Halloween parties, school events, or family gatherings. These no-bake delights combine the classic flavor of Oreos with creamy filling and vibrant green candy melts, making them not only delicious but also visually appealing. With their playful monster design, they are sure to be a hit with kids and adults alike!
Why You’ll Love This Recipe
- Easy to Make: With just a few simple ingredients and no baking required, these Oreo balls come together quickly.
- Fun Presentation: The festive Frankenstein decorations make them a charming addition to any Halloween celebration.
- Versatile Treat: Enjoy these as a dessert at parties or as a fun snack for kids—everyone will love them!
- Customizable: Feel free to get creative with different colors or toppings to suit your event theme.
- Kid-Friendly Activity: Making these treats is an engaging activity that kids can help with, making it great for family bonding.
Tools and Preparation
To create your Frankenstein Oreo Balls, you’ll need some essential tools to make the process smooth and easy.
Essential Tools and Equipment
- Mixing bowl
- Electric hand mixer or stand mixer
- Cookie scoop
- Cookie sheet
- Parchment paper
- Microwave-safe bowl
- Fork or dipping tools
- Small Ziploc bag
Importance of Each Tool
- Mixing bowl: Provides ample space to combine ingredients without spilling.
- Electric hand mixer: Ensures thorough mixing of the cream cheese and crushed Oreos, creating a smooth dough.
- Cookie scoop: Helps portion out uniform-sized balls for even baking and presentation.
Ingredients
For the Oreo Base
- 36 Oreos (finely crushed)
- 8 oz cream cheese (softened at room temperature)
- 1 teaspoon vanilla extract
For Coating and Decoration
- 2 cups light green melting wafers
- ½ cup black or dark chocolate melting wafers
- 1-½ tablespoons crisco shortening
- Black sprinkles (long not round)
- Pretzel sticks
- Small candy eyes
How to Make Frankenstein Oreo Balls
Step 1: Mix the Base
In a large mixing bowl, combine the crushed Oreos, softened cream cheese, and vanilla extract. Use an electric hand mixer or stand mixer on medium speed for 1-2 minutes until fully blended into a dough-like mixture.
Step 2: Shape the Balls
Using a 2 tablespoon cookie scoop, portion out the mixture. Roll each portion into a smooth ball using your hands. Place each ball on a large cookie sheet lined with parchment paper. Flatten the top slightly by pressing down gently, then rotate the ball to flatten all sides until you achieve a square shape.
Step 3: Chill
Refrigerate the shaped balls for about 2 hours to firm up before coating.
Step 4: Prepare Green Coating
While waiting, melt the light green melting wafers. Place them in a microwave-safe bowl and heat at 50% power for 1 minute. Stir well, add 1 tablespoon of crisco shortening, then continue heating in 30-second intervals until smooth.
Step 5: Coat the Balls
Dip each chilled Oreo square into the green coating using two forks or dipping tools. Ensure they are fully coated before placing them back on the cookie sheet. Shake off any excess chocolate gently.
Step 6: Add Decorations
While still wet from dipping, immediately sprinkle one side of each square with black sprinkles for hair. Attach small candy eyes on the front face of each Oreo ball. Break pretzel sticks into about 1-inch lengths and insert them into both sides of the squares as bolts.
Step 7: Prepare Dark Chocolate Drizzle
Repeat step 4 using black melting wafers combined with crisco. Once melted, transfer it to a small Ziploc bag and cut a tiny hole in one corner for piping.
Step 8: Pipe Faces
Remove the baking sheet from refrigeration and pipe smiles or frowns onto each ball as desired.
Step 9: Final Chill
Allow your Frankenstein Oreo Balls to chill in the refrigerator for an additional 30 minutes before serving.
With these simple steps and delightful flavors, you’ll create irresistible Frankenstein Oreo Balls that everyone will enjoy!
How to Serve Frankenstein Oreo Balls
Frankenstein Oreo Balls are the perfect treat for Halloween parties, spooky gatherings, or just a fun dessert at home. These no-bake delights not only look amazing but also taste delicious. Here are some creative serving suggestions to make your treat stand out.
Individual Treat Cups
- Use small clear plastic cups to serve each Oreo ball individually. This adds a fun presentation and makes it easy for guests to grab a treat.
Halloween-Themed Platters
- Arrange the Frankenstein Oreo Balls on a spooky-themed platter alongside other Halloween treats. Add some fake spider webs or plastic spiders for an extra creepy touch.
Dessert Table Centerpiece
- Create a dessert table featuring Frankenstein Oreo Balls as the centerpiece. Include other themed desserts like ghost cupcakes or pumpkin cookies for variety.
Party Favors
- Wrap each Oreo ball in clear cellophane bags tied with green ribbons. Hand them out as party favors for guests to take home.
Pair with Ice Cream
- Serve the Oreo balls alongside a scoop of vanilla or mint ice cream. The creamy texture complements the crunchy cookie and adds a delightful contrast.
How to Perfect Frankenstein Oreo Balls
To achieve the best Frankenstein Oreo Balls, attention to detail is key. Here are some tips to ensure your treats turn out perfectly every time.
Use softened cream cheese: Make sure your cream cheese is softened at room temperature for easy mixing and a smooth texture.
Chill properly: Don’t skip chilling the balls before dipping them in chocolate. This helps them hold their shape during the coating process.
Melt chocolate carefully: Heat the melting wafers in short bursts, stirring in between. This prevents burning and ensures a smooth consistency.
Experiment with decorations: Feel free to get creative with your decorations! Use different colors of melting wafers or additional toppings like edible glitter.
Store correctly: Keep any leftover Oreo balls in an airtight container in the refrigerator for freshness. They can last up to a week!
Best Side Dishes for Frankenstein Oreo Balls
Pairing side dishes with your Frankenstein Oreo Balls can elevate your Halloween spread. Here are some delicious options that complement these sweet treats nicely.
Pumpkin Spice Cookies: Soft and chewy cookies infused with pumpkin spice flavor, perfect for autumn gatherings.
Ghostly Meringue Cookies: Light and airy meringues shaped like ghosts provide a fun contrast in texture.
Chocolate-Covered Pretzels: Salty pretzels dipped in dark chocolate offer a delightful sweet-savory combination.
Apple Slices with Caramel Dip: Crisp apple slices served with warm caramel sauce add freshness and sweetness.
Spooky Cheese Platter: A mix of cheeses cut into Halloween shapes served with crackers is great for balancing out sweets.
Candy Corn Trail Mix: A mix of candy corn, nuts, and chocolate pieces creates a colorful and festive snack option.
Mini Pumpkin Pies: Bite-sized pumpkin pies deliver classic fall flavors that everyone loves.
Vampire Blood Smoothies: Blend up some berry smoothies tinted red; they’re refreshingly delicious and fit the theme!
Common Mistakes to Avoid
To ensure your Frankenstein Oreo Balls turn out perfectly, avoid these common mistakes.
- Failing to chill the mixture: Not chilling the dough can make it difficult to shape. Always chill for at least 2 hours for best results.
- Overheating the melting wafers: Heating the wafers too quickly can cause them to seize. Use low power settings and stir frequently.
- Skipping the sprinkles: Neglecting to add the black sprinkles will miss the iconic Frankenstein hair look. Be generous with them after dipping.
- Not using a proper piping bag: Using scissors on a Ziploc bag creates an uneven cut, affecting designs. Cut a small hole for better control while piping.
- Ignoring storage instructions: Storing improperly can affect flavor and texture. Use airtight containers in the fridge or freezer.
Storage & Reheating Instructions
Refrigerator Storage
- Store in an airtight container to keep them fresh.
- They can last up to 5 days in the refrigerator.
Freezing Frankenstein Oreo Balls
- Place them in a single layer on a baking sheet until frozen, then transfer to an airtight container.
- They can be stored for up to 3 months in the freezer.
Reheating Frankenstein Oreo Balls
- Oven: Preheat to 350°F (175°C) and warm for about 5 minutes.
- Microwave: Heat on low power for about 10-15 seconds, checking frequently.
- Stovetop: Not recommended as they may melt or lose shape.
Frequently Asked Questions
What are Frankenstein Oreo Balls?
Frankenstein Oreo Balls are no-bake treats made with crushed Oreos, cream cheese, and decorated to resemble Frankenstein’s monster.
How do I customize my Frankenstein Oreo Balls?
You can alter colors or toppings based on personal preference. Use different melting wafers or add various sprinkles for creative designs.
Can I make these ahead of time?
Yes! You can prepare and store them in the refrigerator or freezer, making them ideal for parties or gatherings.
Are there alternatives for dietary restrictions?
Absolutely! Substitute cream cheese with vegan cream cheese and use dairy-free melting wafers if needed.
Final Thoughts
Frankenstein Oreo Balls are not just delicious but also fun and versatile. This recipe is perfect for Halloween celebrations and easily customizable with different colors and toppings. Try it out, and let your creativity shine!
Frankenstein Oreo Balls
Get ready to impress your friends and family with these delightful Frankenstein Oreo Balls! Perfect for Halloween parties, school events, or family gatherings, these no-bake treats combine the classic taste of Oreos with a creamy filling and vibrant green candy coating. Not only are they simple to make, but their fun monster design makes them a hit among both kids and adults. Customize them with various colors and toppings to match your party theme, making them an engaging activity for the whole family. With their irresistible flavors and playful presentation, these spooky bites are sure to be a favorite!
- Total Time: 30 minutes
- Yield: Approximately 18 servings 1x
Ingredients
- 36 Oreos (finely crushed)
- 8 oz cream cheese (softened)
- 1 teaspoon vanilla extract
- 2 cups light green melting wafers
- ½ cup black or dark chocolate melting wafers
- 1–½ tablespoons crisco shortening
- Black sprinkles (long not round)
- Pretzel sticks
- Small candy eyes
Instructions
- In a large mixing bowl, blend crushed Oreos, softened cream cheese, and vanilla extract using an electric mixer until smooth.
- Roll the mixture into balls (about 2 tablespoons each) and flatten slightly to shape into squares on a parchment-lined cookie sheet.
- Chill the squares in the refrigerator for at least 2 hours.
- Melt green candy wafers in a microwave-safe bowl, adding shortening for smoothness.
- Dip each square in the melted coating and place back on the sheet.
- Immediately sprinkle one side with black sprinkles for hair; add candy eyes and pretzel bolts.
- Melt black chocolate wafers for piping faces on each ball after chilling.
- Prep Time: 30 minutes
- Cook Time: 0 minutes
- Category: Dessert
- Method: No-Bake
- Cuisine: American
Nutrition
- Serving Size: 1 serving
- Calories: 175
- Sugar: 12g
- Sodium: 75mg
- Fat: 9g
- Saturated Fat: 5g
- Unsaturated Fat: 3g
- Trans Fat: 0g
- Carbohydrates: 22g
- Fiber: 1g
- Protein: 2g
- Cholesterol: 15mg
Keywords: Ensure cream cheese is at room temperature for easier mixing. Experiment with different colored melting wafers for festive variations. Store leftovers in an airtight container in the refrigerator for up to 5 days.